The worst thing about managing time is wasting time doing time management. We hate that so much we’ve built Timeneye precisely to avoid that.
Here are five Timeneye feature which may be small, but will surely save you tons of time. Let’s dive in!
1. Copying an entry
In Timeneye it’s possible to move your time entries around the dashboard. But it’s also possible to quickly copy an entry to any day: hold Shift and then start to drag and drop the entry to any day on the calendar:

Hold Shift + drag and drop the entry anywhere on the dashboard
The copy will have the same amount of time, project, and details as the original.
2. Double-click on an entry to start a new timer
Did you work on a task that you have to repeat today? Do you want to pick up from yesterday’s work?
Head to your dashboard and look for the time entry you saved for that task. Double-clicking on the saved entry will start a new timer for the current day. Easy as that!
Double-click on saved entries only
I personally use this feature a lot as I have some activities that I perform every day, like social planning media, answering new users emails, and writing tweets and post ideas.
3. Auto-saving your timers
It’s easy to forget to stop a timer and end up with a 20+ hour long entry (believe me, I know…). So we added an Auto-save option to automatically store all your timers at an hour of the day of your choice.
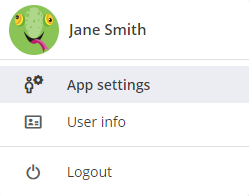
To activate it, access the User menu on the top right of your account:

Then in the App settings section, go to Timers>Auto-save then select “Yes” and pick an hour of the day. In addition, you can set up an email to notify you when your timers have been automatically saved. So you can worry less about stopping timers and more about what you actually have to do.

I chose to set up the Timeneye auto-save feature at our office closing time and let me tell you, it has been a real lifesaver!
4. Adding a Client filter to register time
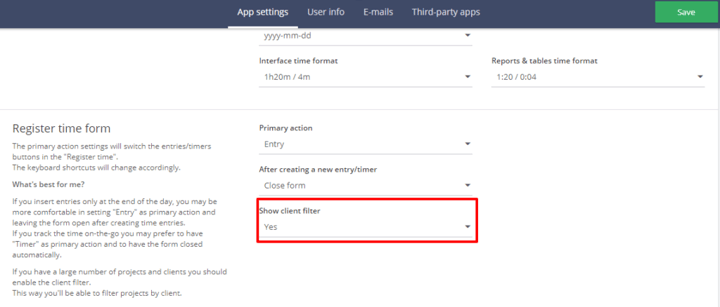
When registering time, our users have to select a project and a phase to allocate the time entry. In Timeneye, every project can also be associated with a specific client. What you may not know is that you can add a Client filter to sort your projects in the Register time button. Definitely, a must if you’re working on several projects for the same clients: with the client filter, you’ll be able to sort the projects out without having to scroll through the full list.
You can turn on the filter from App Settings>Register time form>Show client filter.
After you’ve activated it, your Register time dialog should look like this:

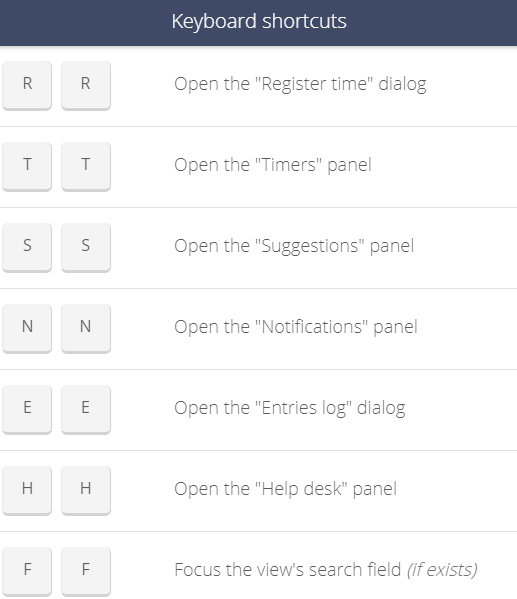
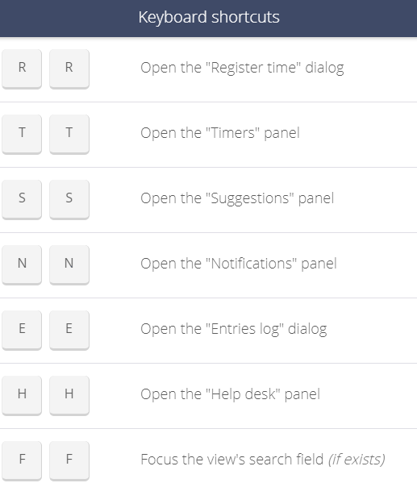
5. Keyboard shortcuts
Want to become the ultimate productivity ninja? Master the Timeneye keyboard shortcuts! We added several of them to track time in a blink of an eye:
We hope this article helped you discover some useful features to give your productivity a boost.
Happy tracking! 🙂
“Cool! What else can Timeneye do?”
Well, make sure to stop by our Timeneye Support site and take a look at our product guides. If you want to give all these features a spin login to your Timeneye account or sign up for a free trial.